
Not sure what it means, but my IT guy said that I should reformat my USB flash drives to be in NTFS format rather than ExFAT format. He claims that NTFS is more reliable because of something called “journaling”? I trust him, so how do I reformat a USB thumbdrive from ExFAT to NTFS?
It turns out that there are many different ways that an operating system can use a storage device to save files and folders. This is known as the file system format and each operating system has its own favorites. The wrinkle is that a file system format that’s optimal for one operating system might not be interoperable with other systems. That’s the big trade-off with NTFS (New Technology File System, originally developed by Microsoft back in 1993 for Windows NT) and ExFAT (Extended File Allocation Table, also developed by Microsoft way back in 2006).
ExFAT is generally considered the superior format because it’s widely compatible and can be used on both Windows and Mac systems without any fuss. Even Linux supports it. It’s the second generation of something called FAT32, which had all sorts of limitations that seemed like no big deal back in the 90s but now are major constraints (most notably that you can’t have files bigger than 4GB).
Shortcuts: Find Your Drive | Drive Properties | Reformatting the Drive
NFTS still has its uses, however, particularly if you’re an all-Windows shop. It offers all sorts of sophisticated under-the-hood features and capabilities, including encryption, compression, quotas, symbolic links, ACL-based file permissions and, yes, journaling. The basic idea is that the file system saves a list of what it’s about to do before making any actual changes, makes the changes, then removes its “journal” entry. This way if something fails – like a power outage – during the change, the file system can back up and apply things again. Neat, right?
With all that in mind, I’ve inserted a SanDisk 256GB USB-C flash drive into my PC so I can show you how to reformat it from ExFAT (the current format) to NTFS. Let’s go!
FIND YOUR FLASH DRIVE IN WINDOWS OS
Start by simply inserting your drive. It’ll show up on the Desktop via a notification:
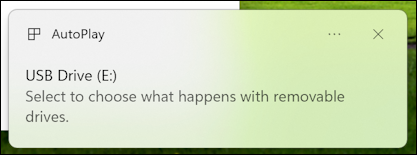
Click on the Notification and you’ll get a few choices from which to choose:
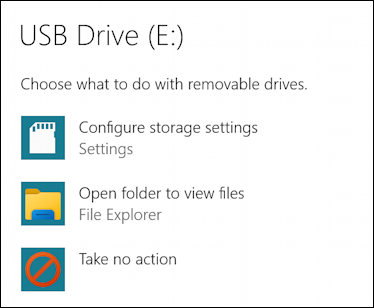
You probably choose “Open folder to view files” but this time, click on “Configure storage settings” instead.
Here’s where it gets a smidge confusing because it immediately shows you the C: drive configuration. That’s not your external plug-in device, that’s the main disk on the PC!
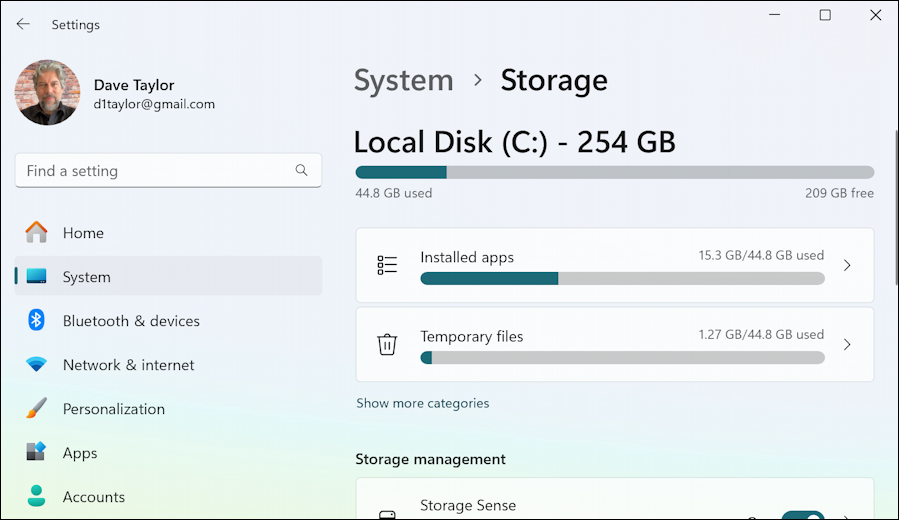
Not to worry, we can get from here to the spot we need. Scroll down in this window, below “Storage Sense”, to find this entry:

Almost there. Out of the subsequent list of options, look for “Disks & volumes”…
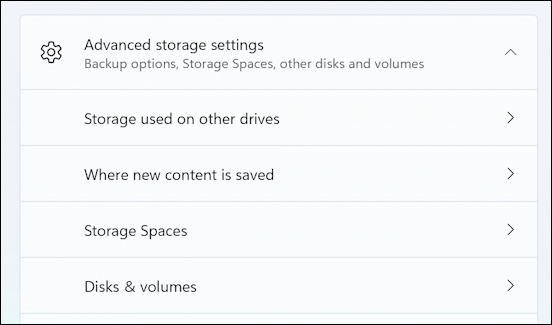
Click on “Disks & volumes” to find the flash drive.
LEARNING ABOUT THE USB FLASH DRIVE
Disks & volumes opens up a rather interesting screen, actually.
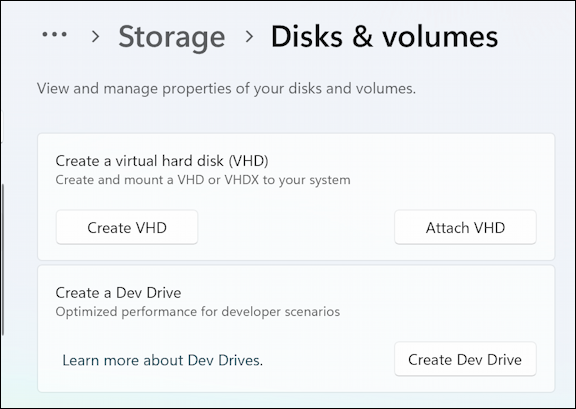
You can learn more about virtual hard disks and dev drives online, if you’re curious. Ask Microsoft Copilot for a cogent explanation, they’re both quite useful in specific situations. Scroll down a bit further and you’ll find quite a few entries for your C: drive. Explanation: There’s one entry for the physical storage device, then each subsequent entry is a “volume” or partition.
Further down is the USB flash drive:

Again, notice that the physical device appears first, followed by the virtual “E:” device. Notice that this shows my flash drive is actually in FAT32 format (horrors!) so it’s definitely ready for a format upgrade.
Click on “Properties” for the physical drive to check it out:
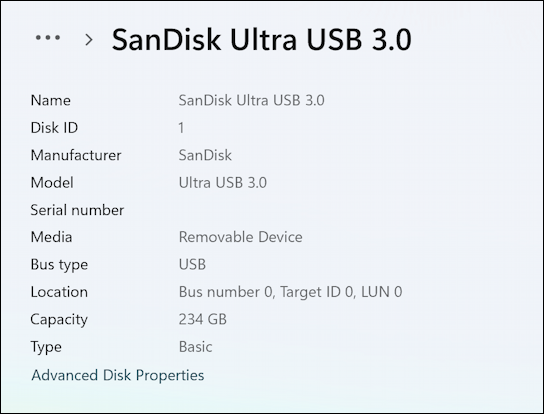
Since this is the physical device, it doesn’t show a file system format. That information is associated with the virtual volume.
REFORMATTING THE E: DRIVE
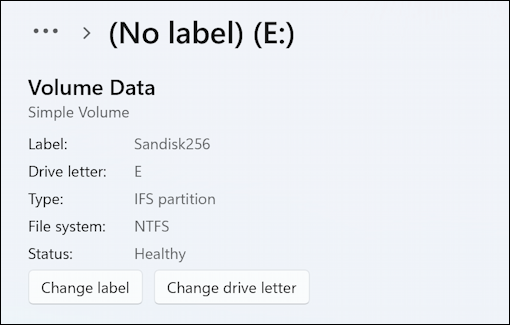
I’m going to back up and click on the “E:” volume Properties button, then scroll down. I see the following:
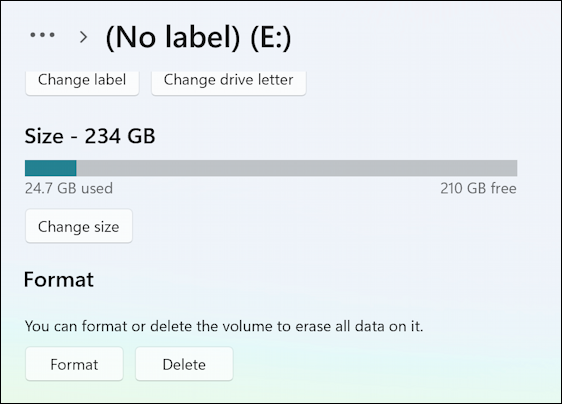
Change size doesn’t make much sense unless you want to partition things differently (for example, have a 10GB virtual drive just for photos, and the remainder of the device for everything else). Instead, click on “Format” instead.
WARNING: Formatting is a destructive operation and will remove everything on the drive. I strongly encourage you to take a moment to ensure you won’t lose anything valuable and even consider backing it up as a form of digital insurance.
A click on “Format” and a small window appears:
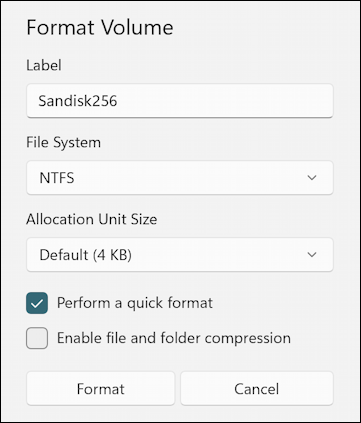
You can see I’m going to rename the drive – I find specifying the capacity is helpful – and have chosen NTFS from the two choices of NTFS or ExFAT. Leave the Allocation Unit Size alone and if you have confidential or private information you want to erase as part of this process uncheck “Perform a quick format”.
To proceed, click on “Format” again.
That’s it. The USB flash drive (thumb drive, whatever you want to call it) has been changed from ExFAT to NTFS. Now it’s time to use it. Good luck!
Pro Tip: I’ve been using and writing about Microsoft’s online universe for many years. Please check out my Windows 11 help area while you’re visiting! Thanks.