
I’ve started running Windows 11 as a virtual machine on my MacBook Pro through Parallels Desktop. Works well so far, but I’m a bit disconcerted to see all my Mac desktop files on the PC desktop too. How can I isolate things a bit better without losing interoperability?
It used to be that Apple hardware was built atop Intel CPUs, which meant that it was relatively easy to run Windows on a Mac. As Apple migrated its hardware from Intel to its own M-series architecture back in late 2020, running Windows became quite a bit more complicated. Now the M-series are just one instance of what are known as Advanced RISC Machines (ARM). Fortunately, Microsoft‘s been developing an ARM version of Windows that doesn’t require Intel-style architecture, and that’s what can be run on modern Mac systems.
Probably a bit more than you want to know, but it’s why you can’t run the regular Windows 11 software, instead needing a special “arm” version. More importantly, you can run it on an Apple M-Series system, and it even runs pretty snappy with the latest generation of hardware. Because virtual machines run as an app, they have as much potential access to Mac hardware, peripherals, disks, files, etc, as any other app.
It’s no surprise then that the default configuration for Parallels Desktop is what I call oversharing mode. Create a new file on the PC side and it shows up on your Mac desktop, and vice-versa. This can be changed through various settings, so let’s fix things up…
WINDOWS WITH MAC DESKTOP FILES
I’m running Parallels Desktop on an M4 MacBook Pro running MacOS 15.4 beta 2, but your experience should look identical even if you aren’t on the beta OS yet. Here’s my Windows desktop:
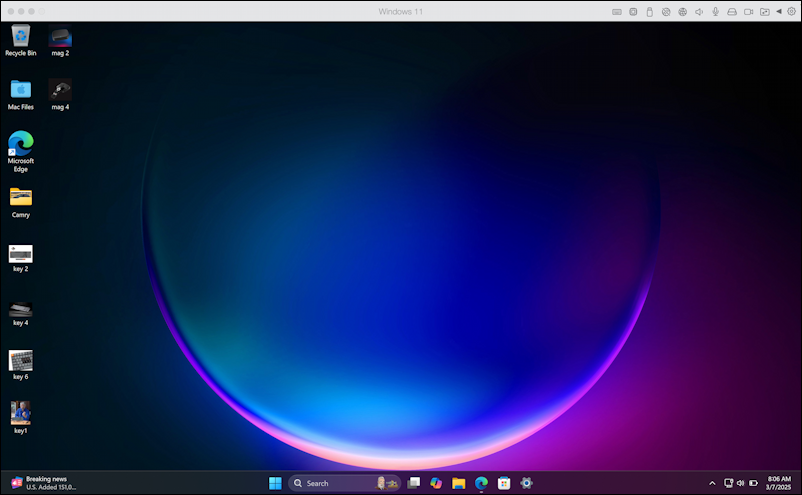
The recycle bin is Windows, but just about everything else is actually on the MacOS side of things, including both the folder and images shown. It’s a lot of sharing when I want to have my (virtual) PC look like a completely different device.
LESS SHARING WITH PARALLELS SETTINGS
To fix the problem I’m going to bring up “Settings” in Parallels (e.g., from the Mac menubar). A click on “Sharing” reveals:
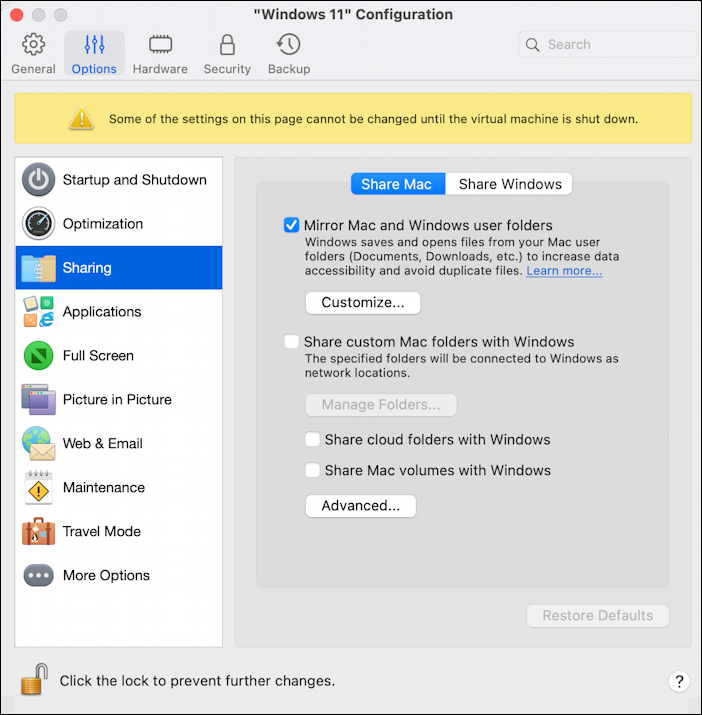
The problem is really with that first setting: “Mirror Mac and Windows user folders”. In fact, click on “Customize..” and you might be surprised just how much Parallels shares with the virtual machine:
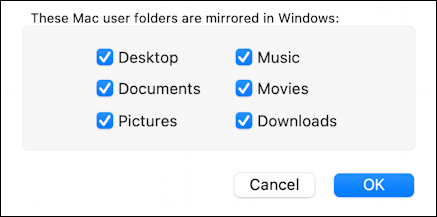
Everything on my Mac is also accessible to Windows, including any apps or programs I run within the Windows environment. I’m all about sharing, but maybe not this much…
Instead, I’m going to go up to my home directory (Command-Click on the current folder name in Finder to move up to your own Users account folder) and create a folder called “Shared with Parallels”:

The advantage of this approach is that it’s a lot more obvious that anything in the new folder will be shared and accessible by my virtual Windows PC.
SHARING A NEW MAC FOLDERS IN PARALLELS WIN11
With the folder created, it’s time to tweak those Settings to stop oversharing. I’ll uncheck “Mirror Mac and Windows user folders” and instead check “Share custom Mac folders with Windows”, which brings up this window:

A click on “+” to add my new folder and…

That’s it. Easy, right? But there’s more I can do to cleanly differentiate between MacOS and Win11…
STOP SHARING APPLICATIONS
One obvious one is shown in the “Applications” area of Parallels Desktop’s Settings window:

By default Parallels enables “Share Windows applications with Mac” but, again, I prefer a cleaner demarkation, so I uncheck this option. If you want a hybrid, merged environment that offers the best of Mac and Windows, you might keep this enabled. There are some other options here to consider, notably whether you want Windows notifications to additionally appear as Mac notifications too.
These changes require a new signin, though if you really want, you can also just restart the virtual machine. Here’s the Parallels reminder:
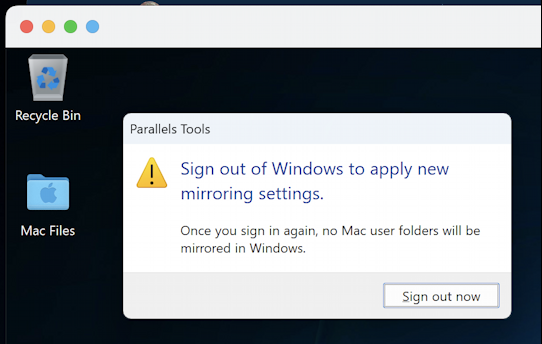
Confusingly, this is wrong. Because I selected a specific folder to share, it will show up on restart even with this warning. Indeed, I do log out, log in again and…
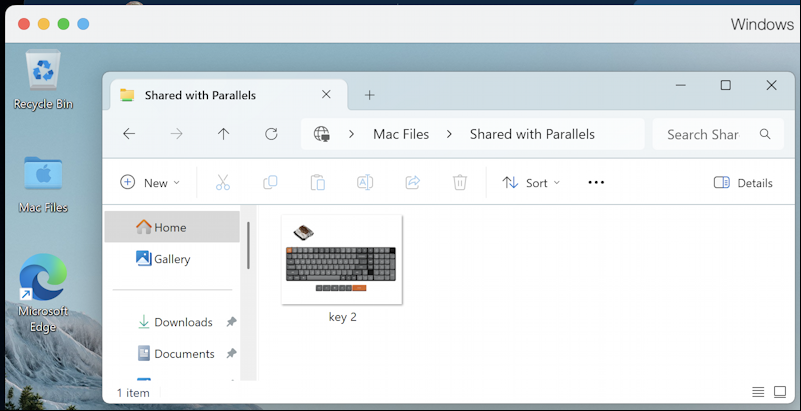
The above is the folder “Shared with Parallels” showing the picture “key 2”, a photo of a mechanical keyboard.
That’s it, things are now neatly partitioned and separated so that there’s no worry that bad or malicious Windows software – or malware – might affect anything on the MacOS side. Hope this helps you too!
Pro Tip: I’ve been writing about MacOS since the first release and have hundreds of helpful tutorials here on the site. Please check out my Mac help library for lots more useful content while you’re here!