
It might have been years in the making but LinkedIn finally has a built-in tool that allows you to schedule posts in the future. You can bump it an hour or two if you’re up early, or schedule it days, or even weeks in the future. Here’s how…
LinkedIn first came online in May of 2003, back in the dawn of social networks. In the last few years plenty of social media sites have added schedulers allowing you to post your content at a more convenient time in the future. Even Facebook has this feature, though only for business pages. LinkedIn, however, has always been reticent to include any sort of scheduling system, forcing users to resort to third party tools like HootSuite, Sprout Social, and Simplified.
Finally, however, without any fanfare, LinkedIn has added a new icon on the post window that allows regular users to schedule their content to go live at some point in the future! It’s subtle, just a small grey clock icon, but it works great! Let’s have a look…
SCHEDULE POSTS ON LINKEDIN!
There’s no indication when you see the basic empty box for posting content on LinkedIn:
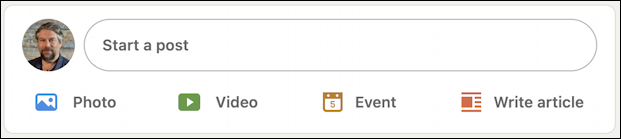
It all looks the same as it’s ever been, but click into the text field “Start a post” and it expands, adding the new scheduler icon:
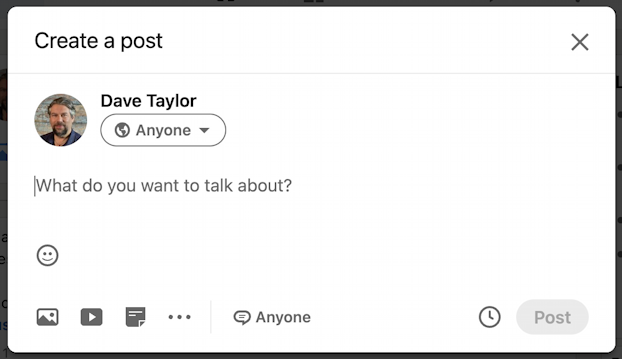
Did you spot the new icon? It’s the clock face icon adjacent to “Post”. To test it out I’m going to pull together a quick post of my own. Here it is, ready to schedule:
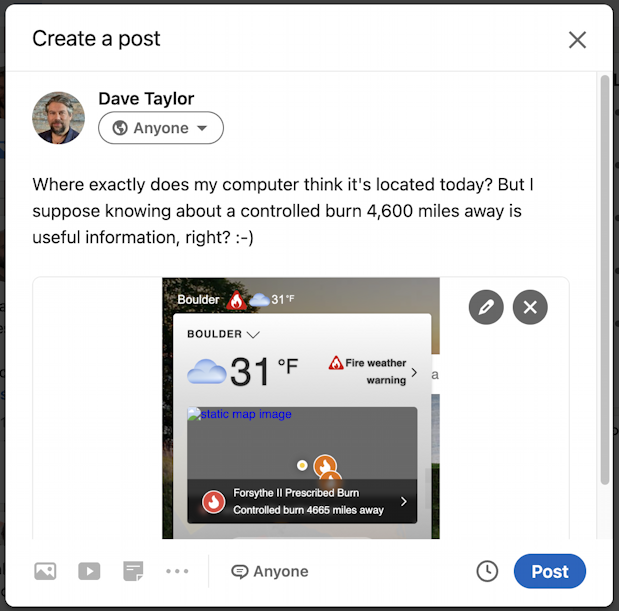
At this point notice that the “Post” button has turned blue, indicating that it’s ready to utilize. But, for the first time in the history of LinkedIn, we’re going to do something else instead and click on the scheduler icon.
HOW TO SCHEDULE A LINKEDIN POST
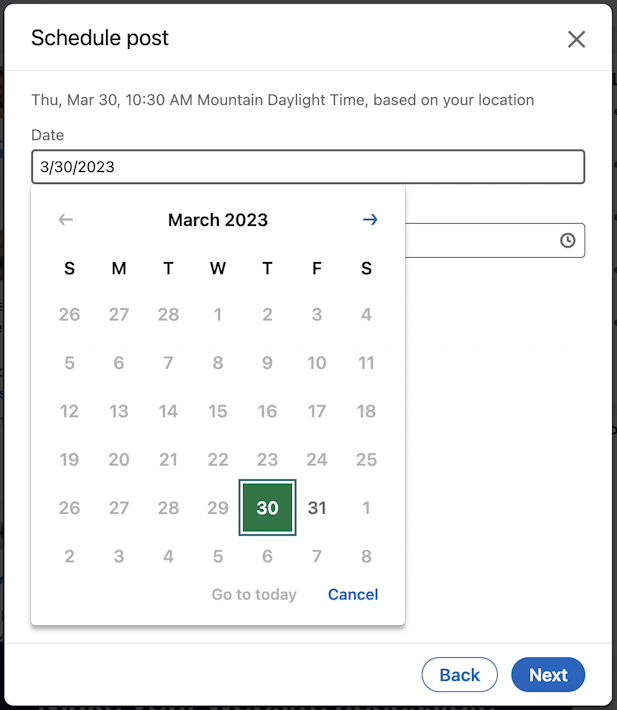
Once the clock icon is clicked, a new window appears:
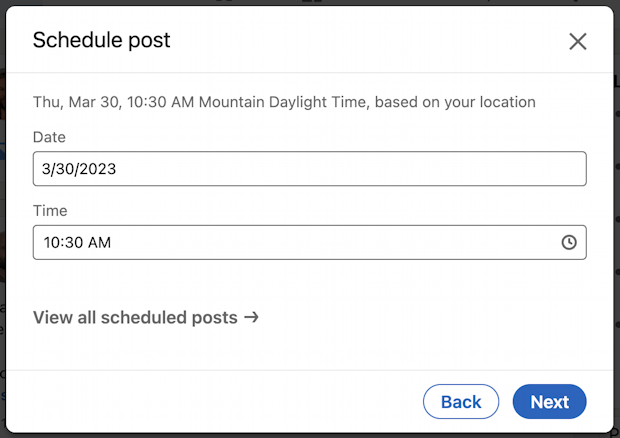
Ah, finally, the ability to schedule the post. You can specify a date, even far into the future…
But perhaps even more usefully, you can specify the time that the post should go live:
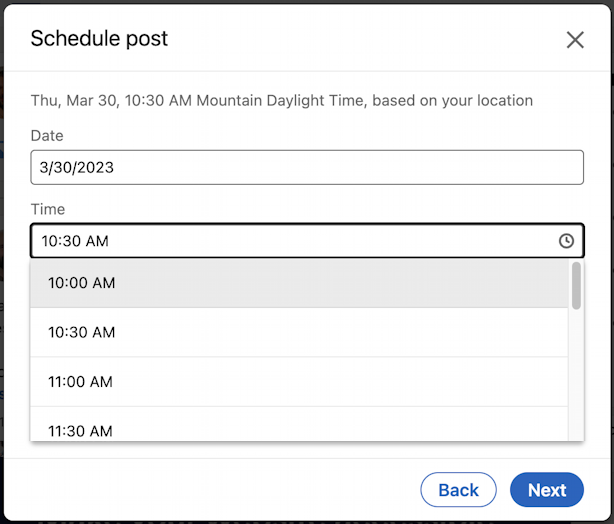
The schedule must be at least 60 minutes in the future, so don’t be surprised at the potential times shown. Bump to a subsequent day, however, and you’ll see midnight to, well, midnight as your options.
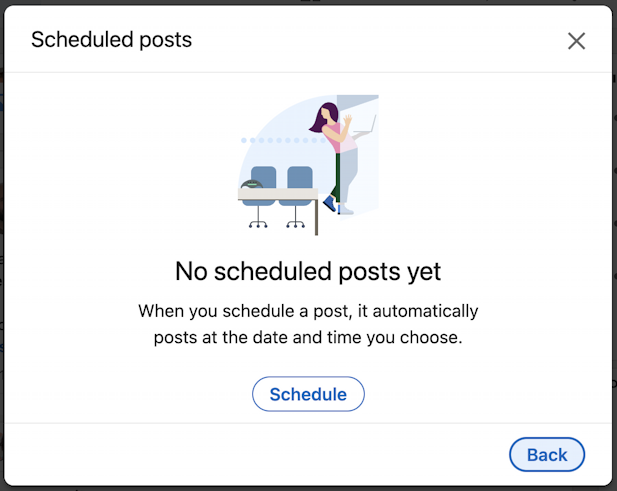
And so, finally, pick a date and time, then, before you click on “Next“, click on the “View all Scheduled Posts” link. No surprise, it will show that there aren’t any scheduled posts:
Let’s schedule it!
CLICK NEXT TO SCHEDULE
Click on “Back” to get back to the scheduler, then click “Next” to actually schedule this post already!
Surprisingly, it doesn’t actually schedule it, you’re just dropped back onto the main LI composition window:
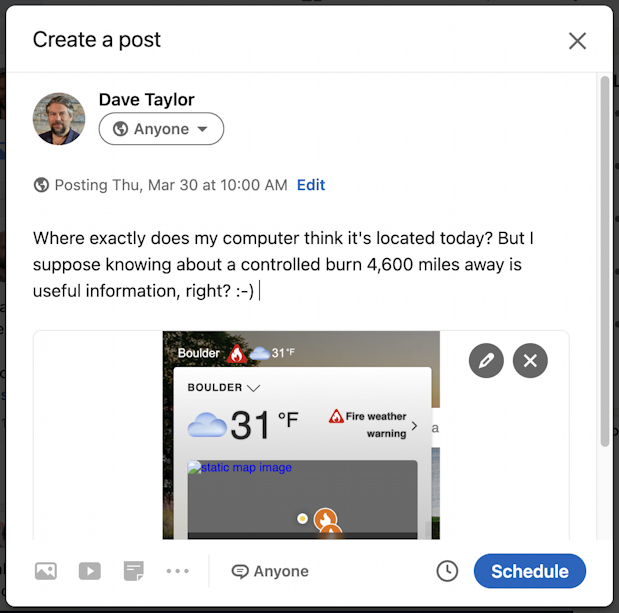
This time, though, notice the “Posting” info near the top, and the fact that “Post” has become “Schedule”. A click and it’s queued up, with this small prompt window on the lower left:

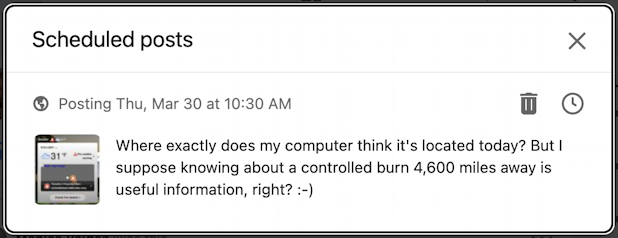
Now if you click on “View scheduled posts”, you’ll see the post all queued up and ready to go:
The only wrinkle is that it’s not easy to find your way back to that scheduler window, so here’s a handy link you can use as needed: www.linkedin.com/feed/?shareActive=true&view=management
And now you know how to schedule your LinkedIn posts. Finally.
Pro Tip: I’ve been writing about LinkedIn since the launch of the popular professional networking site. Please do check out my extensive LinkedIn help area for lots more tutorials while you’re here!