
One of the most interesting features in Android 15 is support for what’s called “Private Space”. It’s a way that you can give certain applications extra security so that even if someone can access your phone, they can’t launch the app. Neat. Here’s how to set it up and how it works…
Every parent who has a kid who’s hacked their Android phone knows the frustration of wanting to keep certain things private but finding it increasingly difficult to do so. My kids had a tendency to tell me when they’d cracked my PIN, at least, so I was aware of the problem, but it can still be problematic. Perhaps you’re a single parent and it’s a couple of dating apps, or a support group that you don’t want your spouse to see if they happen to use your phone for an emergency call. Or it might be more salacious. It’s all good.
For the previous 14 generations of Android, you were on your own trying to hide and protect these private applications in various, typically unsuccessful, ways. That’s changed with the release of Android 15 with the addition of Private Space. It essentially acts as a new, hidden user on your Android device, with its own apps and, if you desire, its own Google account. Yes, Clark Kent, your alter ego can now have his own super fortress of app-titude!
To start out, however, you will need to be running Android 15. As of this writing, it’s only available on Google Pixel phones, but it’s sure to migrate to other devices in the next few weeks, so hold on, Samsung owners. Check for updates and once it is available for your device, expect the update to take 30-45 minutes. It’s a big one (though everything looks the same once you restart after the upgrade).
ENABLE PRIVATE SPACE IN ANDROID 15
Once you’ve updated, go into Settings and search for “private”:
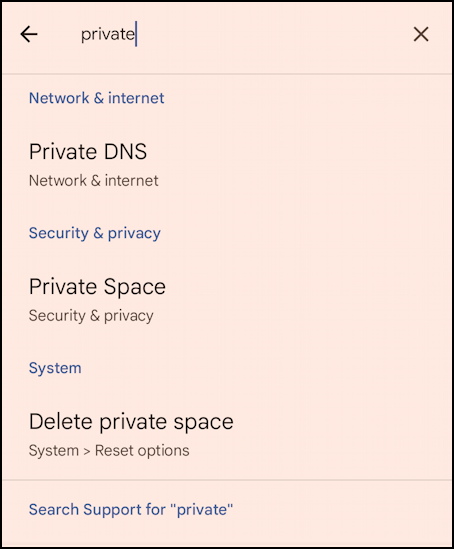
A variety of matches, but we’re most interested in the match that’s part of Security & privacy. Tap on “Private Space“. You’ll be dropped into the Security & Private page with the corresponding entry highlighted:
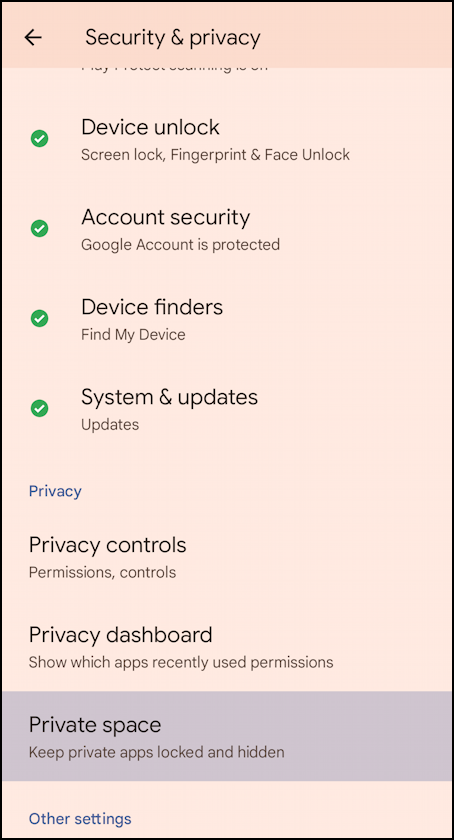
When you have a moment, go back and check out your Privacy dashboard on this screen. For now, I’ll stay focused and tap on “Private space”.
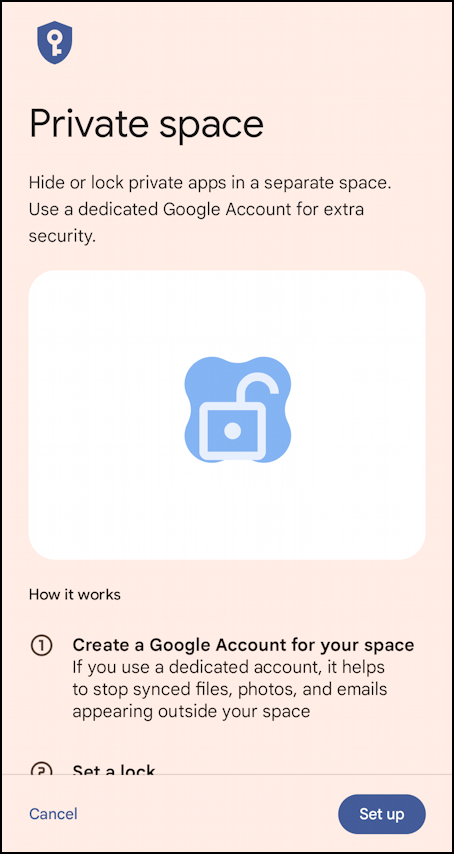
Since I haven’t set it up yet, Android shows a lot of information about how it works. There is a bit of confusion in the text, though, because it suggests that you can setup a new Google Account by my experience was that some apps forced you to use a separate account in Private Space or wouldn’t work. For now, I’m going to plow ahead by tapping “Set up“.
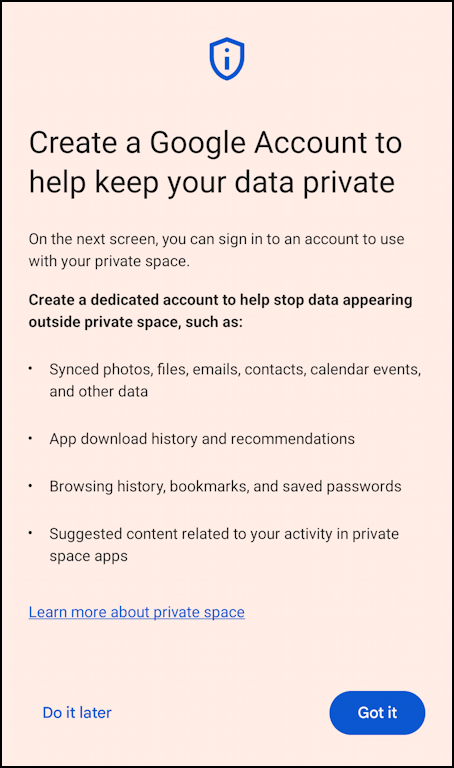
Again, are you forced to set up an account or not? I’m going to choose “Do it later” just to proceed…
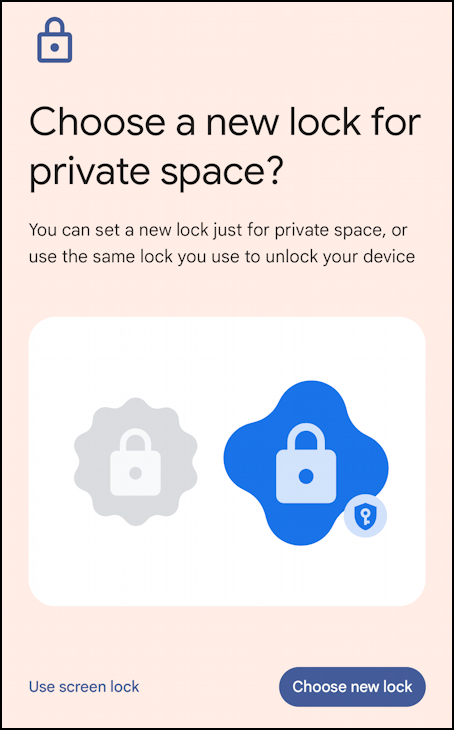
If your kids do know your PIN then tucking apps into Private Space will be pointless. Here you can opt for a new passkey lock if you want, either biometrics, a PIN or a password. I’m going to stick with my face recognition screen lock by tapping on the link “Use screen lock“.
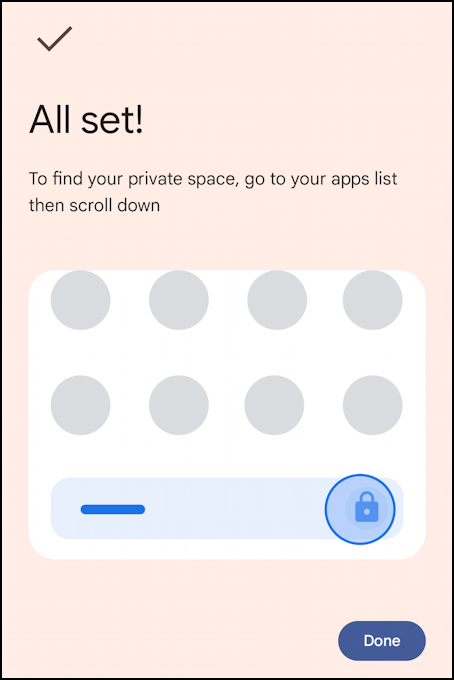
That’s it. All set up.
HIDING APPLICATIONS IN PRIVATE SPACE
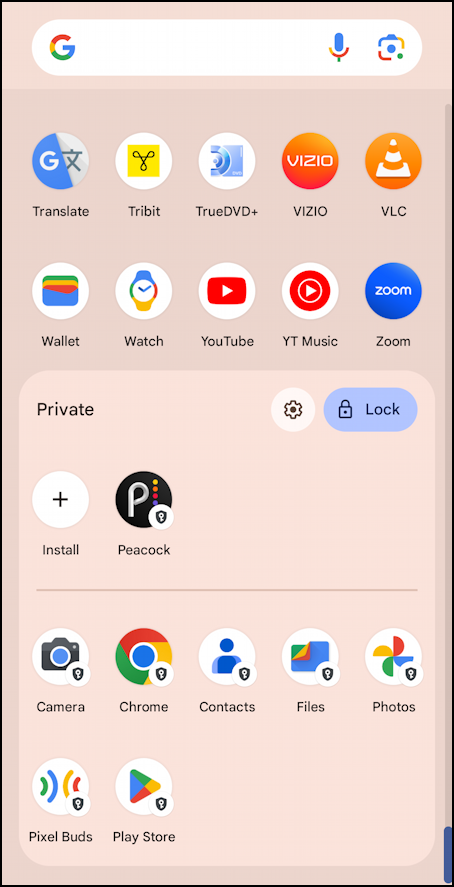
Private Space is a smart implementation and is easy to use. To start, do what the info screen above suggests: Go to your all apps view and swipe to drop down to the bottom of the list:
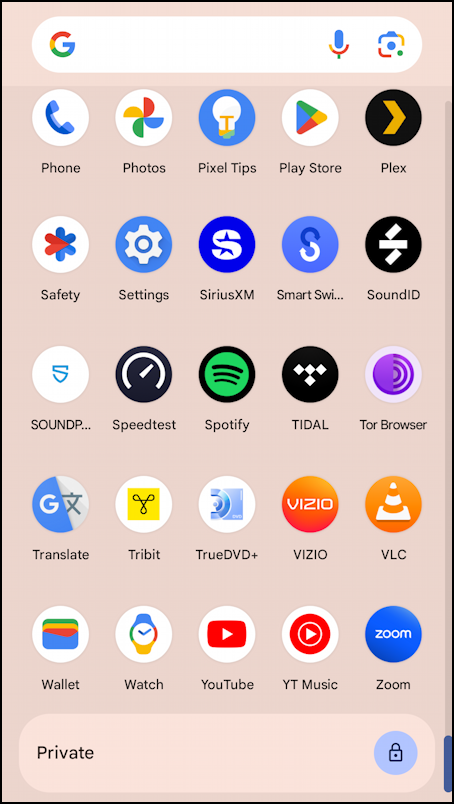
You can see the Private Space on the bottom. You can actually hide this portion if you prefer to make it truly private, but that’s beyond this tutorial. From this point, unlock Private Space by tapping on the lock icon. Unlocked it looks like this:
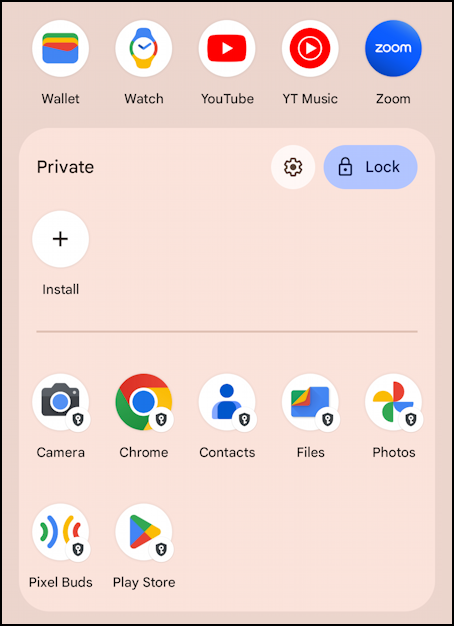
Notice it gets its own “version” of the common Google apps. It really is implemented as a different user.
To move apps into the space, simply tap and hold on the app icon:
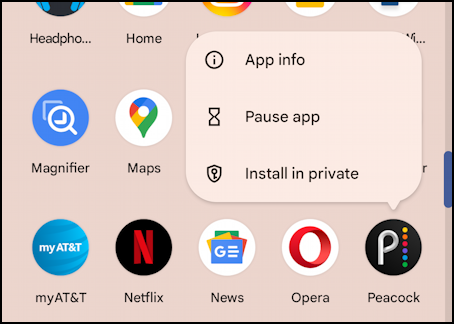
Choose “Install in private” and it’ll actually open up the App Store so you can download the app again. Since it’s already downloaded, it instantly changes to show an “Open” button. Finally, the app’s now in the new Private Space area, as you can see:
Once you’ve moved it into the new area, you can safely delete it from your main app view. Done!
Pro Tip: There are lots of ways to manage your Android devices and ensure the best possible experience. Learn more by checking out my extensive Android help area while you’re here too!