
I take a lot of screen captures and screenshots on my iPhone X and am wondering if there’s a quick and easy way to crop and annotate them? I’m running iOS 12.
With the latest releases of iOS and MacOS X, both the Apple iPhone and your Mac system have an almost identical simple graphics editor that’s but a single tap or click away after you take a screenshot! While I prefer to use more robust graphics editors for big edits, the built-in screenshot editor turns out to be perfect for both a quick crop to eliminate the unneeded elements of an image and a fun annotation or two. Even better you can even use it when you’re phone’s on its lock screen!
I imagine you’ve noticed it but just assumed it was iOS showing you that it did indeed take a screen capture. Oh, and for those of you reading, if you’re not sure how to capture your iPhone screen, it’s volume up + power pressed simultaneously for about 1 second. Easy, really. But let’s not talk about it, let me show you step by step how to crop and annotate a screen capture!
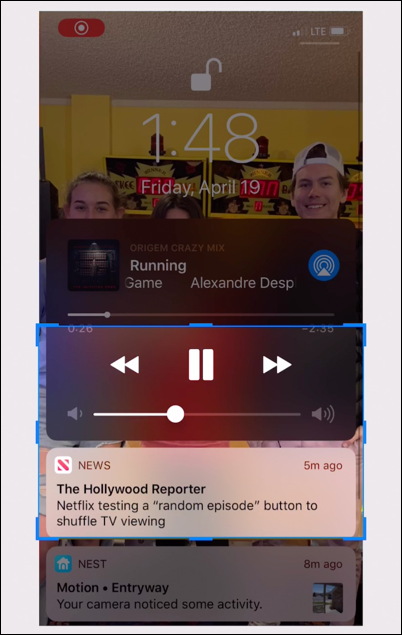
To start, I grabbed this image of a notification from The Hollywood Reporter from the lock screen on my phone, an iPhone XS:
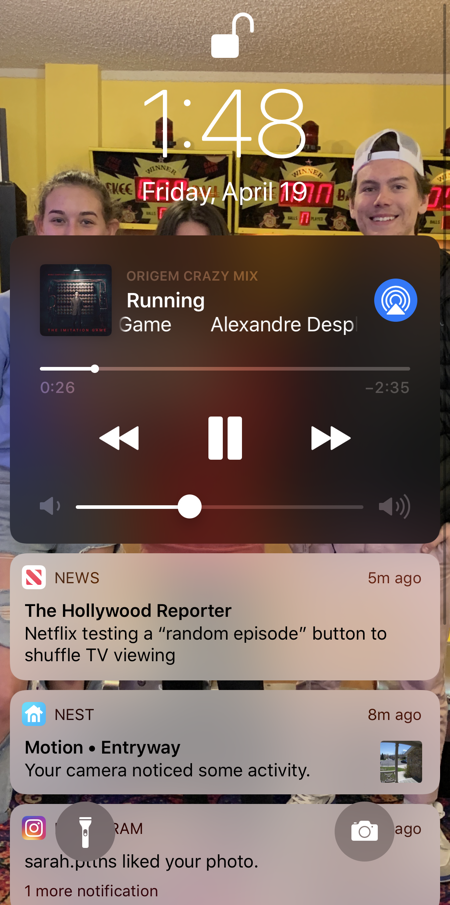
You can see that I was listening to the soundtrack from The Imitation Game by Alexandre Desplat too; something I don’t really think is needed if I just want to share the Netflix news from THR. Even here on the lock screen a simultaneous press of the Volume Up and Power buttons produces a screen capture. It’s immediately shown in miniature on the lower left:
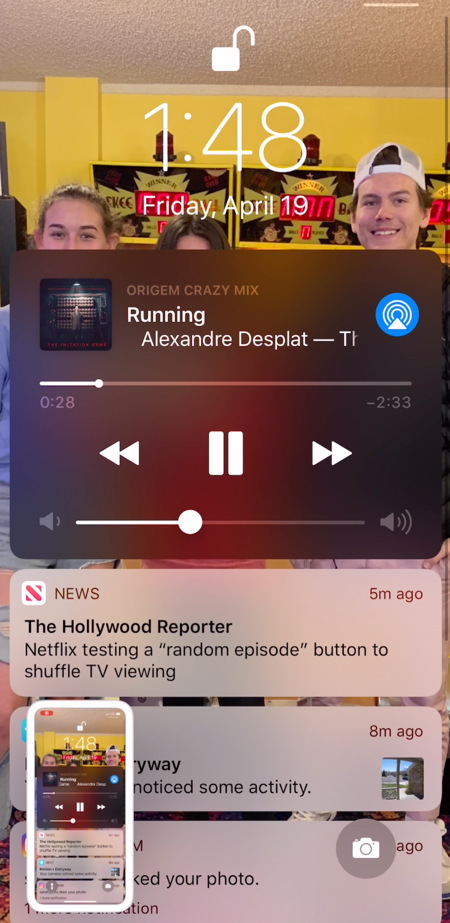
What a lot of people don’t realize is that the tiny thumbnail is not only a confirmation that the screen capture worked, but it’s also how you launch the capture editor too.
Tap on it and suddenly you’re in a rudimentary graphics editor:
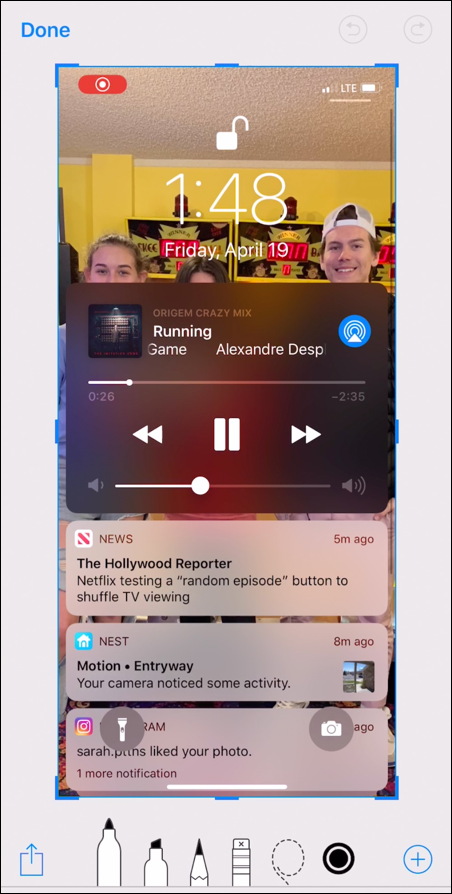
Perhaps the most important thing to notice is the “Done” link on the top left. If you want to quit out, are tired of editing, or are done with all your tweaks and modifications, that’s the button you’ll need to push.
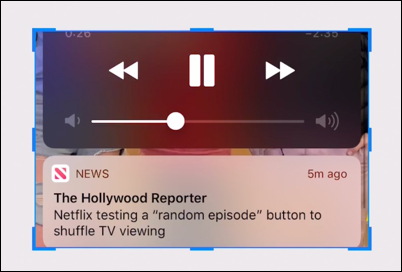
But notice also that the screen capture has what’s known as a bounding box, shown in blue with “handles” on the corners. Tap and drag one of those corners and you can quickly and easily crop your image:
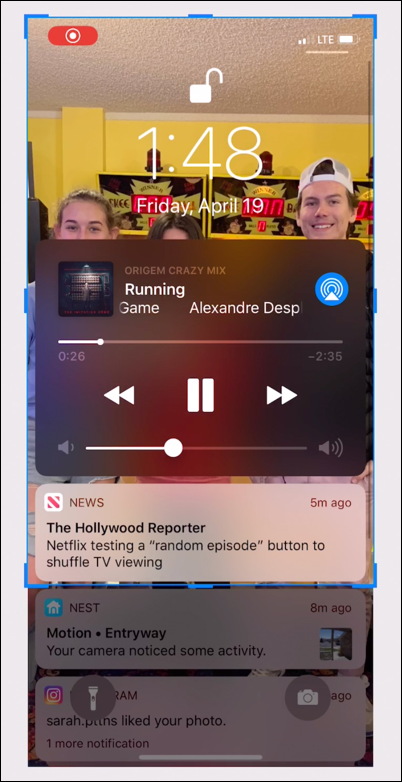
After a second or two of no activity, the image will be resized and displayed minus the part you’ve cropped out. And, of course, you can move the top edge downward too:
Indeed, after a few seconds, I get just this subset of the image displayed:
Perfect. Now, let’s annotate! This is easily done. Choose an ink color by tapping on the colored circle on the very bottom:

Then pick a pen or pencil icon (difference is generally the thickness of the line):

The slider lets you specify how opaque or transparent the ink should be, in case you want to be able to peek through the squiggle to see what’s behind it. Generally I tend to have it completely opaque, as shown above.
Now just tap and move your finger to write, circle, highlight, sketch or doodle directly on the image:

That’s it. Done. And when you’re done you… ? Right! You tap on “Done” on the top left.
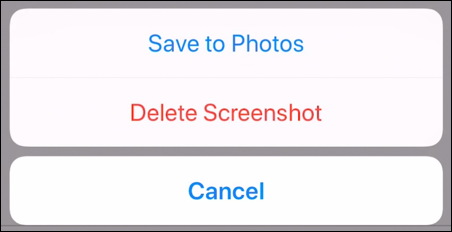
Tap on “Save to Photos” and you’re done. Screen capture cropped and annotated. Well done.
Pro Tip: I’ve been writing about the iPhone since the beginning. Please check out my quite extensive iPhone help area here on the site while you’re visiting!